
- Run Windows PowerShell as an administrator.
- At the PowerShell command prompt, enter cd “c:\Program Files\Microsoft\AzureMfa\Config”, and then select Enter.
- At the next command prompt, enter .\AzureMfaNpsExtnConfigSetup.ps1, and then select Enter. The script checks to see whether the Azure AD PowerShell module is installed. If it is not installed, the script installs the module for you.
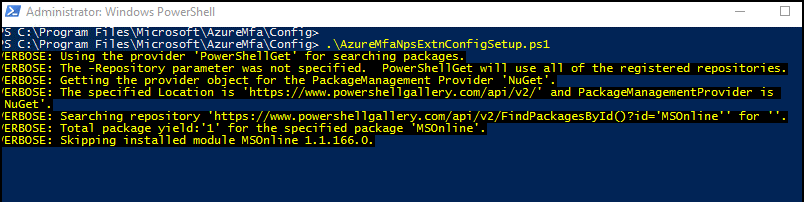 If you get a security error due to TLS, enable TLS 1.2 using the
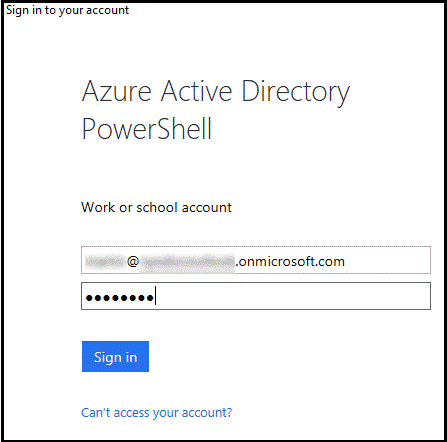
 [Net.ServicePointManager]::SecurityProtocol = [Net.SecurityProtocolType]::Tls12command from your PowerShell prompt.After the script verifies the installation of the PowerShell module, it displays the Azure Active Directory PowerShell module sign-in window. - Also, if you face “PackageManagement\Install-Package : No match was found for the specified search criteria and module name ‘MSOnline’.
Try Get-PSRepository to see all available registered module repositories.
At C:\Program Files\WindowsPowerShell\Modules\PowerShellGet\1.0.0.1\PSModule.psm1:1809 char:21
+ … $null = PackageManagement\Install-Package @PSBoundParameters
+ ~~~~~~~~~~~~~~~~~~~~~~~~~~~~~~~~~~~~~~~~~~~~~~~~~~~~
+ CategoryInfo : ObjectNotFound: (Microsoft.Power….InstallPackage:InstallPackage) [Install-Package], Ex
ception
+ FullyQualifiedErrorId : NoMatchFoundForCriteria,Microsoft.PowerShell.PackageManagement.Cmdlets.InstallPackage” issue or - Get-PSRepository WARNING: Unable to find module repositories., run the “Register-PSRepository -Default” to fix the issue.
- Enter your Azure AD administrator credentials and password, and then select Sign in.
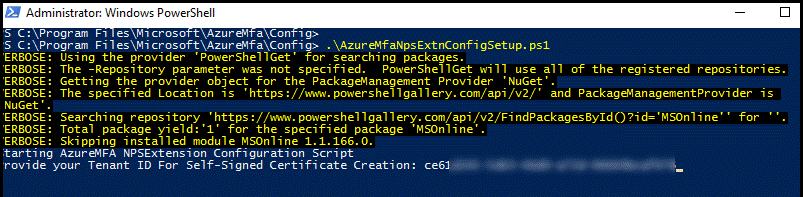
- At the command prompt, paste the tenant ID that you copied earlier, and then select Enter.
 The script creates a self-signed certificate and performs other configuration changes. The output is like that in the following image: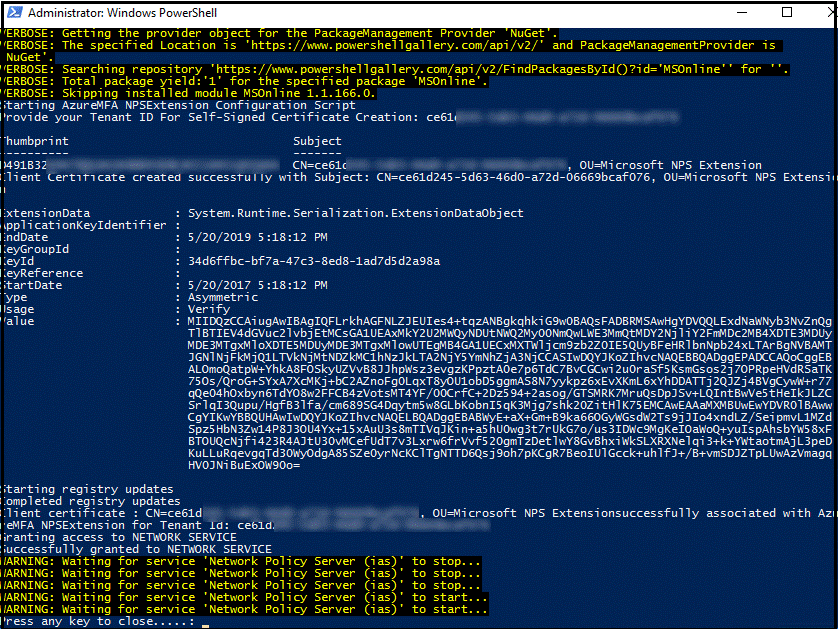
- Restart the NPS service in the NPS console.
Reference Link